Picker Builder:
Here's a brief overview:
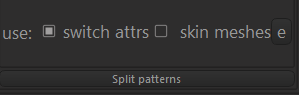
1. PB recognizes only visible controls, so first PB looks for attributes that will switch their visibility (fk-ik, blend visibility, etc.).
You can specify these attributes manually.
2. Then PB analyzes the hierarchy of all the controls and groups them into patterns (eyes, mouth) that are grouped into partitions (face, body).

Each partition has its own camera and bg image.
The patterns are defined by an initial list, which is defined in the file init_template.json . You can create your own templates of patterns.
Some patterns are defined algorithmically (main, fingers), but you can edit them later.
Unrecognized controls fall into the Rest pattern.
The pattern can be split into other patterns by the Splitter tool.
3. Then press Build, see the result, edit partitions, their order, size, and then press Build again.

4. If you are satisfied with the overall appearance of the picker, close the PB window and manually edit the controls in Picker Viewer (edit mode) .

You can move, rotate, scale (W E R ), change color, shape, align in line, create selection sets, add script buttons.
As for color - there are three modes - individual color (actually maya controls color), pattern color (changes color of all controls in this pattern) and hierarchy weight

In edit mode hierarchy weight color is disabled.
At the end press save. The picker is saved in the folder “...User_name\[Documents]\maya\scripts\PickerBuilder\assets_pickers”.
Further it will be loaded into the scene automatically, if the character is loaded into the scene.
—---------------- Now in more detail: —--------------------------------------------------
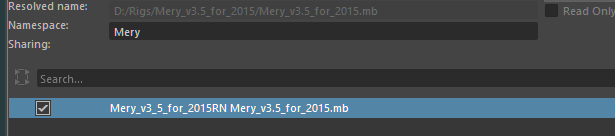
To start with, you must load the asset as a reference with namespace.

The namespace itself does not matter. The PB is linked to the filename.
All asset information is saved in “...User_name\[Documents]\maya\scripts\PickerBuilder\assets_pickers”.
You can change this folder in the menu Settings.
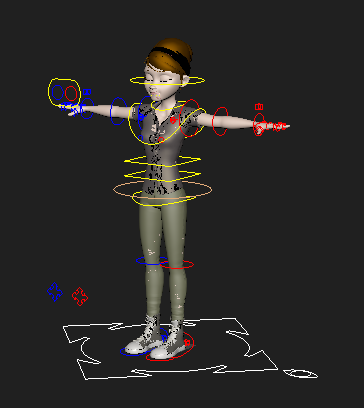
Assets should be in default position ( T-pose) at the beginning of coordinates.
Run PB , select asset in the list and press


------------------------------ SWITCH ATTRIBUTES --------------------------------
Firstly PB looks for all visible controls and attributes responsible for switching between forward and inverse kinematics.
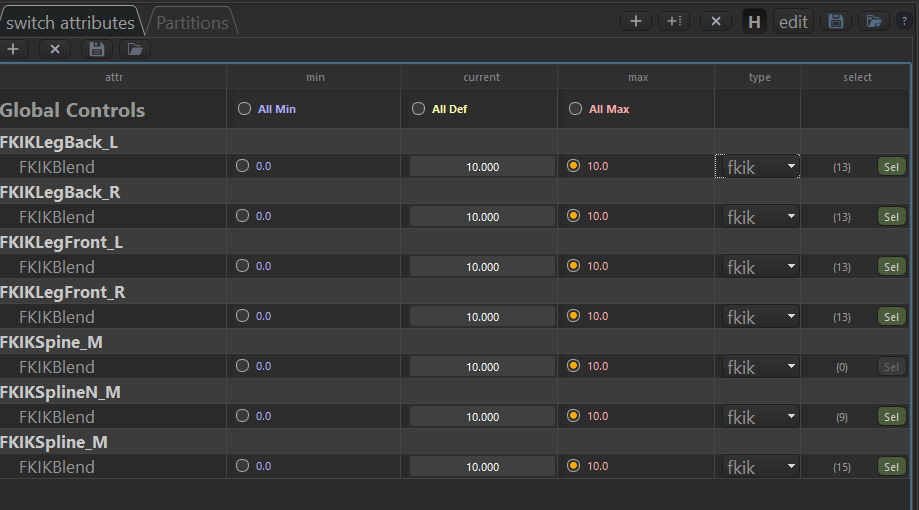
If the PB does not find these attributes, you can specify them manually.
To do this, select an attribute in the Channel Box and click .


Then specify its type from the drop-down list .

- FKIK type - if it is direct kinematics at minimum value,
- IKFK - vice versa.
- VIS type - just switch attribute visibility (for example, Bend Visibility in Advanced Skeleton) .
The picker recognizes only visible controls or
controls that become visible when the switch attributes are changed.
Recognizable type of controls: nurbsCurve, nurbsSurface, mesh.
You can save these attributes and load them next time .


Then we press .

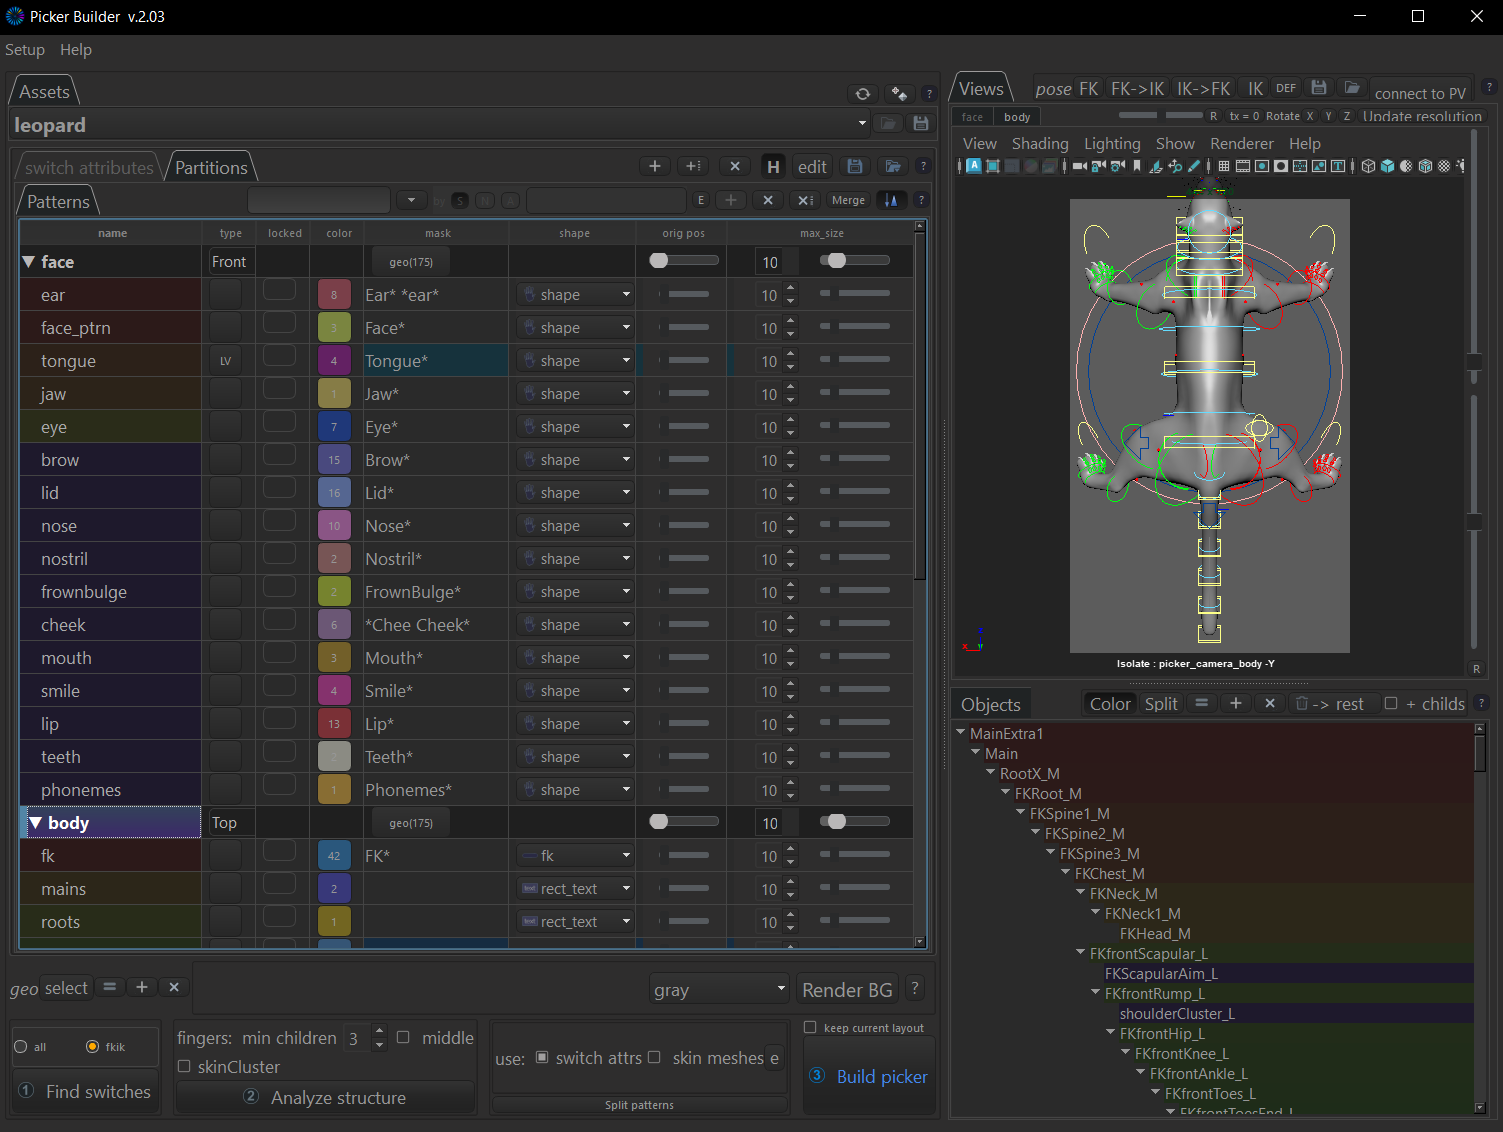
------------------------------ PARTITIONS--------------------------------

The PB analyzes the hierarchy of the asset and groups the controls by patterns.
The patterns are grouped in partitions. By default it is Body and Face.
To create your own partition press (or - create from selected patterns).

To rename the partition double click on name in table.
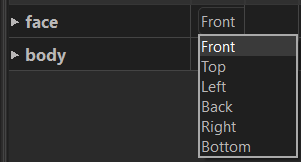
Each partition has.
- Its own camera (Front / Top) . You may choose camera orientation or correct it manually in viewport right .
For convenience, the “Rotate X Y Z” buttons rotate the camera 90 degrees.
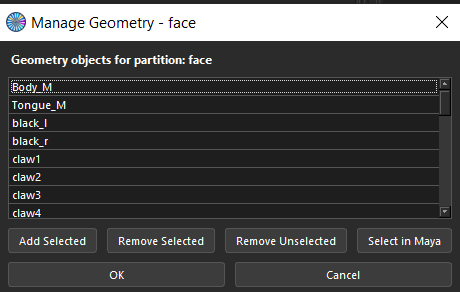
- List of geometries to render bg (it can be edited)

- “Max size” is the maximum size of controls in pixels.
Skin cluster nodes are disabled during hierarchy scanning by default. To activate it- set on (it useful if hierarchy relationship controls depends on skinCluster (on face))

------------------------------ PATTERNS --------------------------------
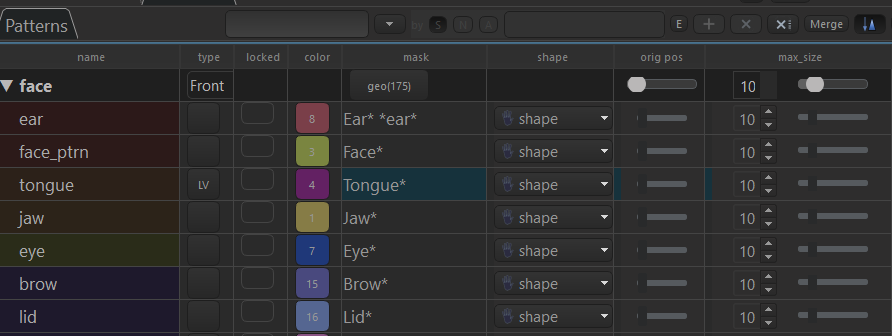
For each pattern, you can specify:
- align mode (type)
- locked
- color
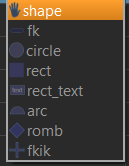
- type of display ( shape)
- origin pos
- maximum size.
Let’s look at each parameter in detail:
- Align mode
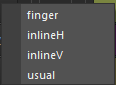
inlineH(V) - useful when needed to align controls in horizontal or vertical lines
.

finger - disposes of controls as fingers
- Locked - locked controls displayed in picker as gray and don't selectable (it can change after). Useful for rarely used controls like bend, twist.
To select locked controls need press on lock button in Picker Viewer

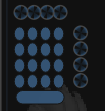
- Color - set color of pattern. The colors of the patterns are visible when the checkbox is enabled (in Picker Viewer).

Number inside shows count of controls of pattern
- Shape - set shape of controls. Shape - use maya shape of controls. Fk - display as a stick from parent to child.
- Orig pos - slider to shift controls to their origin position.
- Max size - slider to set max size
The order of patterns determines the order of adding controls to the picker when building (except main and fingers - it will be added after all).
The patterns are defined by an initial list in the file init_template.json (you can edit it ).

Most patterns defined by mask (*eye*, *mouth*).
Some patterns are defined algorithmically (main, fingers), but you can edit them later.
Unrecognized controls fall into the Rest pattern.
Patterns can be grouped by switch attributes and influenced meshes
LIst of meshes can be edited (e)

The pattern can be split into other patterns by the Splitter (described below)

By default patterns are sorted by hierarchy weight (sum of all children, subchildren ).
To customize order you need uncheck button (else it needed when you move patterns between partitions).

Most of the patterns are searched by name mask.
Patterns can be added, removed (with or without controls), merged and moved between blocks.

To add pattern :
- Set place (select pattern) where you want to add partition in patterns tree
- Enter pattern`s name
- Pattern name can be extracted from selected controls

- Choose mode - from selection (S), by mask of controls (N) or attributes (A)
- Enter mask with * by sides (ex. *lowlid*) (only for N and A mode)
- Mask can be extracted from selected controls

- Press

You can move patterns in other partitions by drag n drop .
When you delete a pattern, all its controls are moved to the “Rest” pattern.
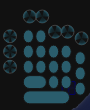
Some patterns need to be considered separately.
- “Fingers” - these controls are displayed in the picker in a special way.
PB searches for them by rule when a control has 3 or more children.
You can change this number here and then press again.
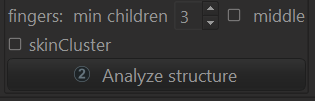

If this rule does not work, PB tries to find them by template names ( index, mid, pink ...) .
“Middle” checkbox apply rules of search fingers controls which don't have pairs (like hairs)
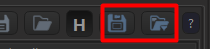
You can save partitions with patterns and load next time.
Next time for the same rig partitions can be loaded immediately (without pressing Find switches and Analyze hierarchy) .

Patterns can be saved in templates and loaded for similar rigs (like initial_template). Works only for patterns by masks. .
Before it needed unhide empty patterns (H-button)
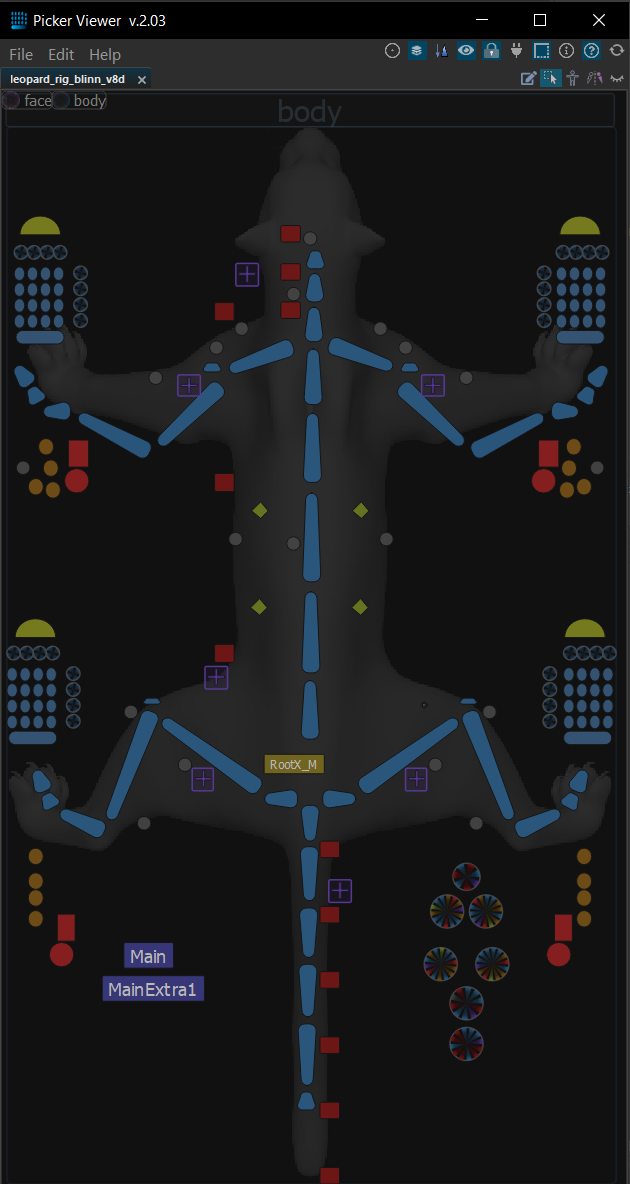
------------------------------ OBJECTS--------------------------------
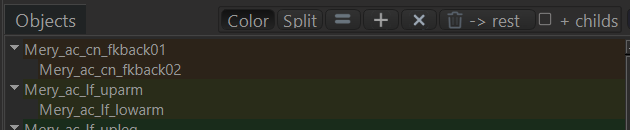
The controls in the patterns
- can be set manually
- moved to other patterns by drag n drop,
- changed the hierarchical dependence by drag n drop,
All controls that do not belong to other patterns fall into the “Rest” pattern.
Color - toggle show hierarchy weight
Splitter - open splitter window
set patterns from selections controls

add to patterns selected controls

remove from pattern selected controls

- move selected controls to Rest pattern

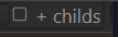
- include childs for the above-mentioned operations
------------------------------ SPLITTER-------------------------------
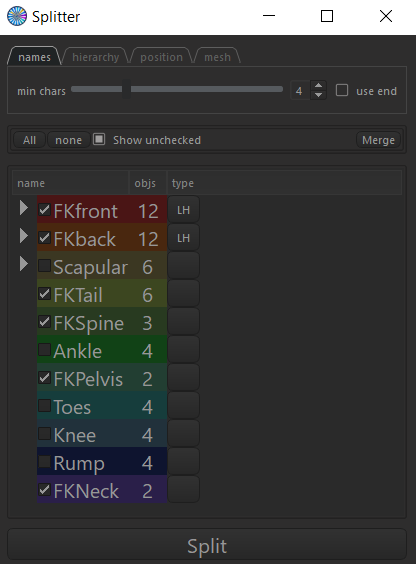
For complex rigs, it is often necessary to break a pattern (especially Rest) into several patterns.
Select pattern and press Split in Object section

There are 4 ways to split up - by names, hierarchy, world position and influenced meshes.
- By names - use the common root of control names. You can set the minimum length of the root.

- By hierarchy - there are 3 options -

- By position - you can choose world axes - X, Y, Z

- By Mesh
Also you can merge patterns - select several and click the Merge button.
Splitter uses only checked patterns.
------------------------------ POSE--------------------------------
You can:
- set the character in any position.
- save the pose for convenience and load it next time.
- set all controls to the FK or IK position.
- Copy position of controls from FK to IK and visa versa

------------------------------ BUILD --------------------------------
After all the adjustments we press .
If you are satisfied with the overall picture of the picker, we can move to Picker Viewer.
If not - make changes and press Build picker again.